


I still remember the first time I dried calendula flowers from my garden. Those bright orange petals seemed too beautiful to waste. If you grow calendula, you probably feel the same way.
Calendula officinalis has been my go-to plant for homemade skincare and natural remedies. The flowers work wonders for soothing irritated skin and supporting healing. But fresh blooms don’t last long.
That’s why I’m sharing my tested methods for drying calendula flowers.
You’ll learn exactly when to harvest them and how to preserve their vibrant color and healing properties.
Let’s make sure none of those precious blooms go to waste.
What Is a Calendula and Why Dry the Flowers?
Calendula offers powerful skin benefits. Drying these flowers properly helps you preserve their healing properties for use all year long.
The Benefits of Calendula
Calendula flowers are packed with natural compounds that help your skin heal faster. They reduce redness and calm irritation when you apply them topically. Many people use them to treat minor cuts, burns, and dry patches.
You can turn dried calendula into many useful products. Steep the petals in hot water for a soothing herbal tea. Infuse them in oil to create healing balms and salves. Some folks add calendula to homemade lotions and creams.
The flowers contain antioxidants that protect your skin from damage. They also have antimicrobial properties that keep wounds clean.
Why Drying Matters
Fresh calendula blooms only last a few days after you pick them. Drying extends their shelf life by months or even years. The process locks in the beneficial compounds so they stay potent.
When you dry your summer harvest properly, you’ll have calendula ready whenever you need it. No more waiting for the next growing season. Dried flowers maintain their bright color and therapeutic value.
Proper drying also prevents mold and bacteria growth. This keeps your flowers safe for medicinal use throughout the year.
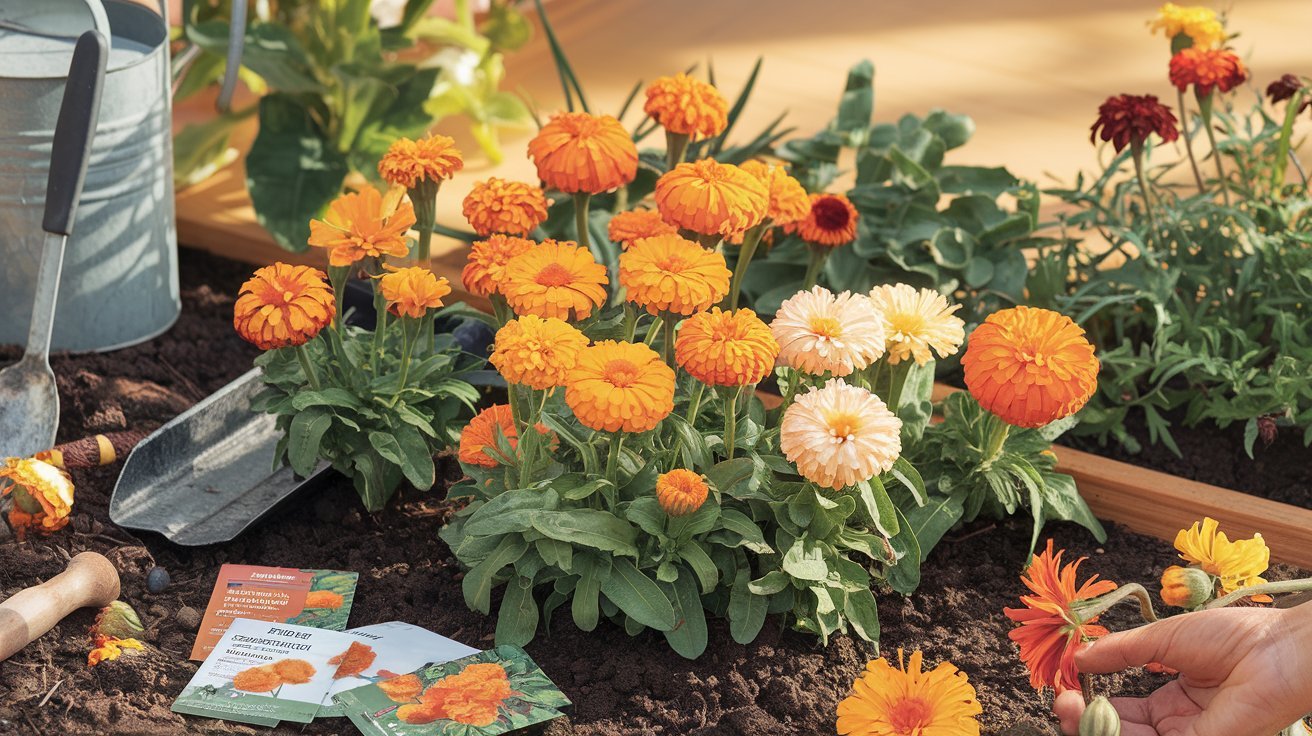
How to Grow Calendula for the Best Blooms
Growing a healthy calendula starts with good soil and sunshine. Choose the right variety and care methods for abundant blooms worth drying.
Ideal Growing Conditions
Calendula loves well-draining soil and full sun. Partial shade works too. Water regularly but avoid soggy soil to prevent root rot.
These plants grow in USDA zones 2 through 11. Plant seeds in spring after the last frost. Warmer areas can try fall planting.
Sowing and Caring for Calendula
Scatter seeds on your garden bed and press lightly into soil. Space plants 12 inches apart for healthy growth.
Keep soil moist until sprouts appear. Thin weak seedlings when they reach 2 inches tall.
Remove dead flowers often to keep new blooms coming. The more you pick, the more your plants produce.
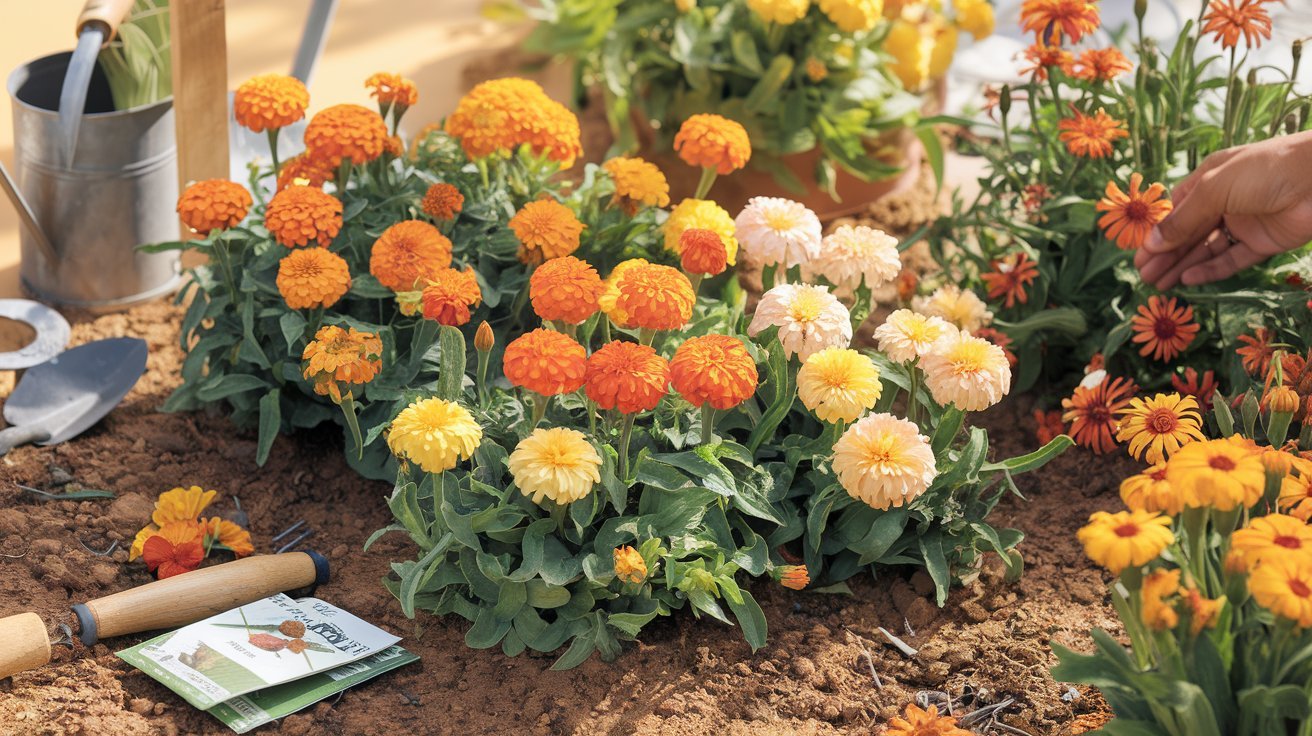
Best Calendula Varieties for Drying
Orange King has thick petals perfect for oils and balms. The color stays bright after drying.
Snow Princess offers pale yellow blooms with a soft appearance.
Indian Prince features deep orange-red petals that hold their vibrant color well.
When and How to Harvest Calendula Flowers
Timing your calendula harvest correctly ensures you get the most potent flowers. Proper picking techniques help maintain their color and healing properties.
Best Time to Pick Calendula
The best time to harvest is mid-morning. Wait until the dew has dried completely from the petals. Wet flowers are harder to dry and may develop mold.
Look for blooms that are fully open. The petals should look fresh and vibrant. Avoid flowers with curling or fading petals as they’ve passed their peak.
Harvesting Tips
- Use clean scissors or garden shears to cut flowers. Snip close to the stem but leave a bit attached to the bloom.
- Handle each flower carefully. Bruised petals turn brown and lose their beneficial oils. Hold flowers by the stem rather than squeezing the petals.
- Harvest flowers every few days during peak season. Regular picking tells the plant to produce more blooms. You’ll get a bigger harvest this way and extend your growing season.
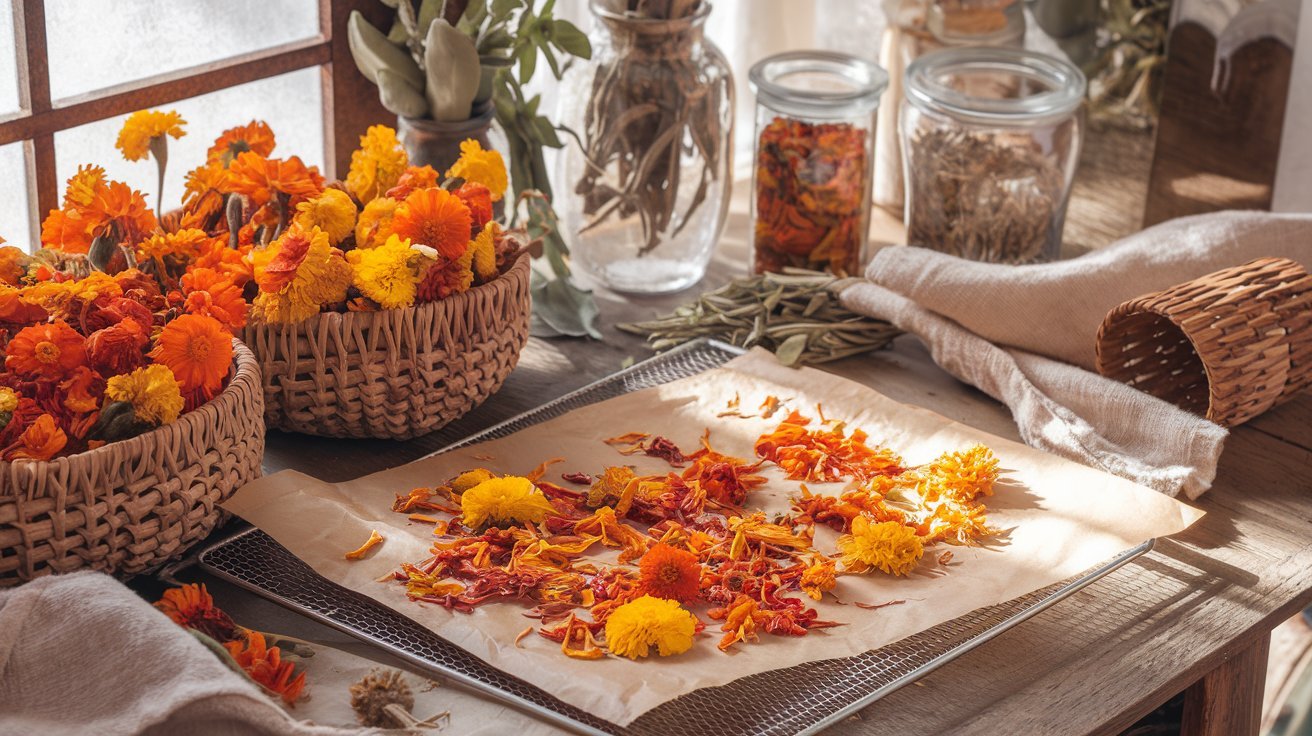
How to Dry Calendula Flowers (3 Easy Methods)
These three simple drying methods work for any home setup. Each technique preserves calendula’s color and medicinal benefits using different timeframes.
1. Air Drying Method
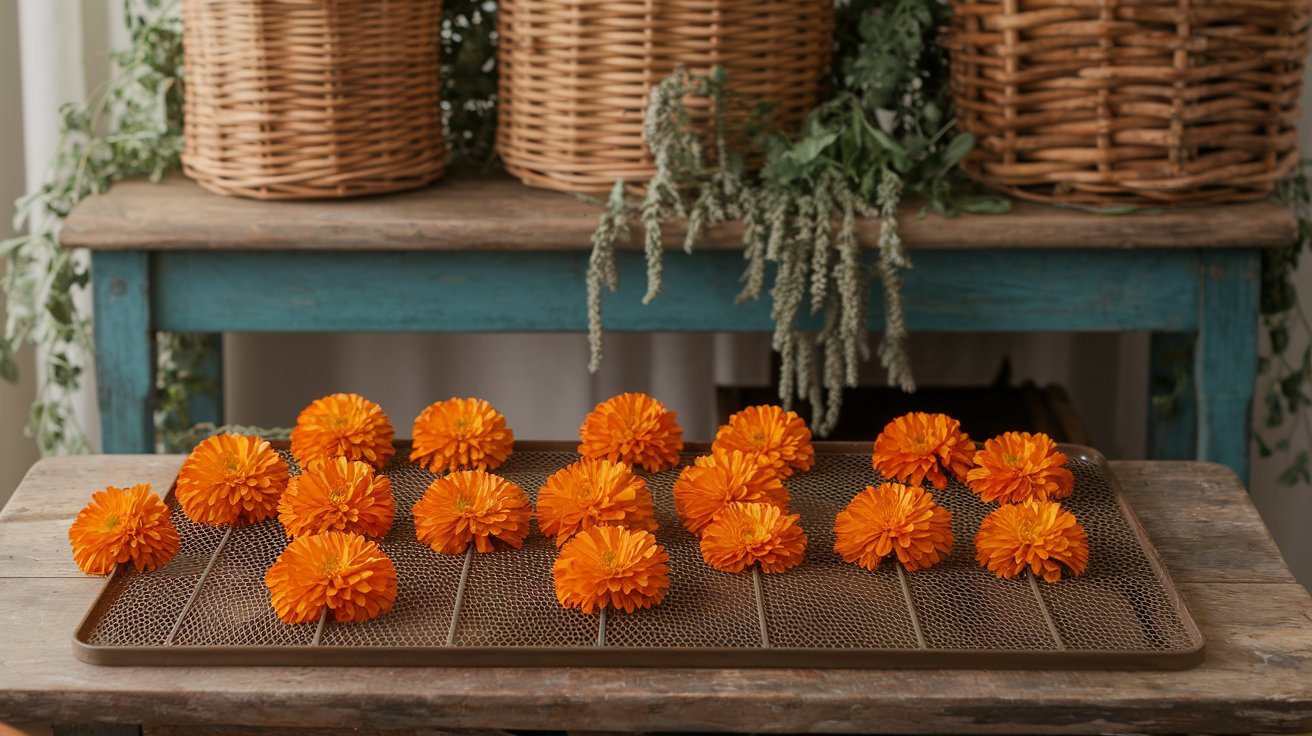
Lay your calendula flowers in a single layer on a mesh rack or screen. Don’t let them touch or overlap. This allows air to circulate around each bloom.
Find a warm, dry spot away from direct sunlight. Good airflow is important. A spare room, attic, or covered porch works well.
Leave the flowers to dry for 2 to 4 weeks. Check them regularly. They’re ready when the petals feel crisp and the centers are completely dry. No moisture should remain.
2. Dehydrator Method

Set your food dehydrator to 95 to 100 degrees Fahrenheit. This low temperature protects the beneficial compounds in the flowers.
Place flower heads on the trays in a single layer. Make sure they don’t overlap or touch each other.
Check your flowers every few hours. Most calendula dries completely within 12 to 24 hours. The petals should crumble easily when done.
3. Oven-Drying (Quick Option)
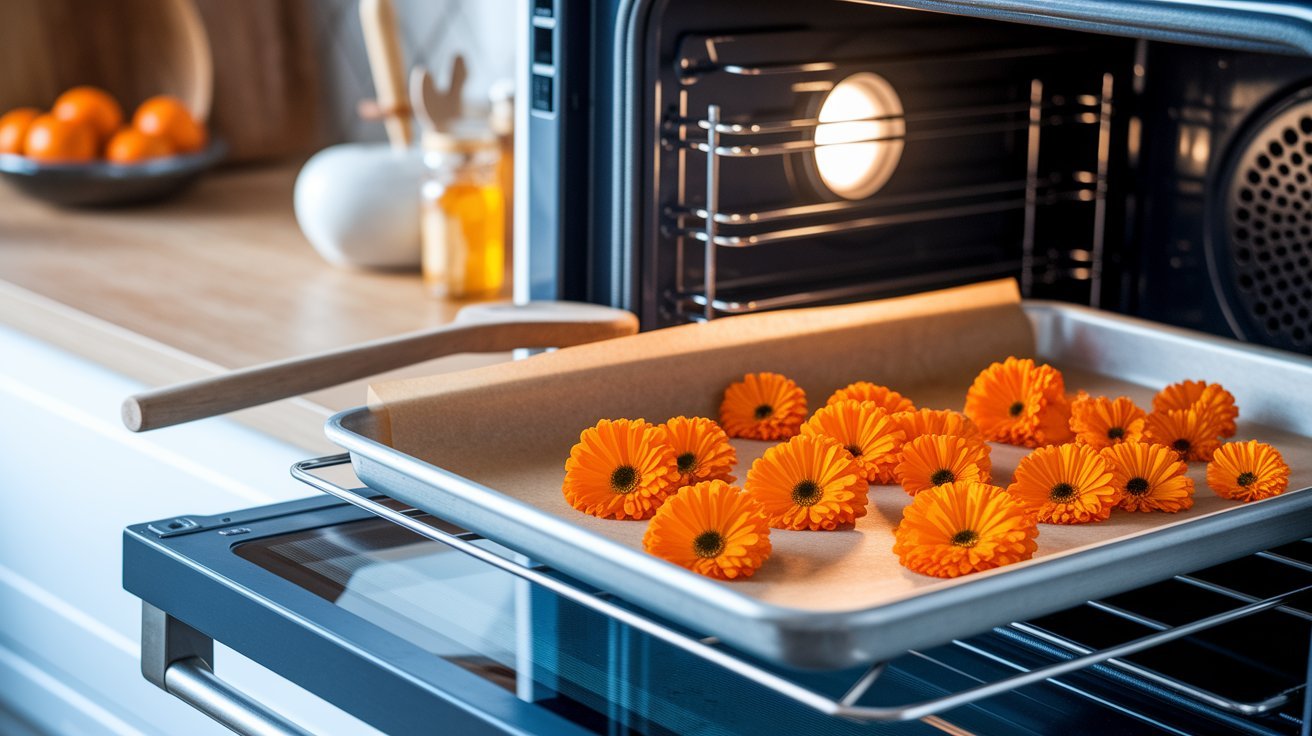
Turn your oven to the lowest setting possible. Prop the door open slightly with a wooden spoon for ventilation.
Spread flowers on a baking sheet lined with parchment paper. Keep them in a single layer.
Check every 20 to 30 minutes. Watch carefully to avoid overheating, which can destroy the healing properties. This method typically takes 2 to 4 hours.
Common Mistakes to Avoid When Drying Calendula
- Drying in humid conditions: Moisture in the air slows down drying and promotes mold growth. Always choose a dry location with low humidity.
- Overlapping flower heads: When flowers touch, air can’t circulate properly between them. This creates damp spots that invite mold and uneven drying.
- Storing too early: Flowers that still contain moisture will develop mold in storage containers. Test them by crumbling a petal to confirm complete dryness.
- Using high heat: Excessive temperatures destroy the beneficial oils and compounds in calendula. Stick to low heat settings under 100 degrees Fahrenheit.
- Exposing flowers to light: Direct sunlight fades the vibrant orange color and breaks down active compounds. Keep drying flowers in a dark space.
- Skipping quality checks: Not all flowers dry at the same rate depending on size. Check each bloom individually before storing to ensure thorough drying.
Final Thoughts
Growing and drying calendula at home has changed how I approach natural skincare.
You know exactly what goes into your remedies when you grow the flowers yourself. No pesticides, no mystery ingredients, just pure healing petals.
Start small if you’re new to this. Plant a few seeds and try one drying method first. You’ll quickly learn what works best in your space.
Once you have dried flowers ready, the fun really begins. Try making your own calendula balm or infusing oil with those beautiful petals.
Your skin will thank you, and you’ll feel proud knowing you created something truly beneficial.
Frequently Asked Questions
How long does it take to dry calendula flowers?
Air drying takes 2 to 4 weeks depending on humidity and airflow. Using a dehydrator speeds up the process to 12 to 24 hours at low temperatures.
Can I dry calendula flowers with the stems attached?
Yes, you can dry whole stems by hanging them upside down in bunches. However, removing stems before drying saves storage space and makes the flowers easier to use later.
How do I know when calendula flowers are completely dry?
Fully dried calendula petals feel crisp and crumble easily between your fingers. The center of the flower should be firm with no soft or moist spots remaining.
What’s the best way to store dried calendula flowers?
Store dried flowers in airtight glass jars away from light and heat. Label containers with the harvest date and keep them in a cool, dark cupboard for up to one year.
Do dried calendula flowers lose their healing properties over time?
Properly dried and stored calendula retains most of its beneficial compounds for 12 months. After a year, the potency gradually decreases, so it’s best to use them within that timeframe.


